

Interior panels in vehicles often fall prey to the ravages of time, exposure to sunlight, and general wear and tear. As a result, the original color fades, leaving them looking dull and unappealing. Fortunately, restoration through dye techniques offers an effective solution for rejuvenating plastic surfaces without the need for expensive replacements. This method not only saves money but also retains the integrity of your vehicle’s interior.
Dye application is a straightforward process that can significantly enhance the aesthetics of faded interior panels. Unlike paints, which can obscure texture and detail, dyes penetrate the surface, bonding with the material to produce a more natural finish. This is particularly beneficial for plastic components, as it helps maintain their original sheen and flexibility while restoring their vibrant color.
In this article, we will explore various dye techniques specifically designed for the restoration of plastic interior panels. We’ll cover the necessary materials, step-by-step instructions, and essential tips to ensure a successful project. By the end of this guide, you’ll be equipped with the knowledge to transform your faded interior into a refreshed and appealing space.
Selecting the Right Dye for Plastic Restoration
Choosing the appropriate dye for plastic restoration is crucial for achieving optimal results. The right dye can enhance the appearance of faded panels and ensure long-lasting results. Here are key factors to consider when selecting a dye:
| Factor | Description |
|---|---|
| Type of Plastic | Different plastics have varying chemical properties; it’s essential to identify the type of plastic you are working with (e.g., ABS, PVC, polycarbonate) to select a compatible dye. |
| Dye Type | There are primarily two types of dyes: water-based and solvent-based. Water-based dyes are easier to apply and clean, while solvent-based dyes typically bond better with plastic. |
| Color Match | Select a dye that matches the original color of the plastic or choose a shade that complements the overall design of the interior. Testing on a small area can help ensure a proper match. |
| Durability | Opt for dyes that are resistant to UV light, chemicals, and everyday wear. High-quality dyes provide better longevity and can withstand the rigors of an interior environment. |
| Application Method | Consider how the dye is applied–spray, brush, or dip methods can affect the uniformity of the finish. Choose a method that suits your skill level and project needs. |
By taking these factors into account, you can select a dye that not only restores the aesthetic of your plastic panels but ensures a durable and professional finish.
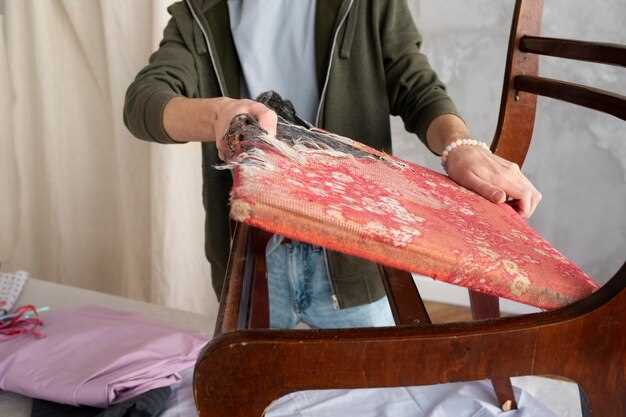
Preparing Interior Panels for Dye Application
Before applying dye for the restoration of interior panels, proper preparation is essential to ensure effective adhesion and a durable finish. Follow these steps to prepare your interior panels thoroughly:
- Assess the Condition:
Inspect the panel surfaces for any signs of damage, such as cracks, dents, or peeling paint. Address these issues before proceeding with dye application.
- Clean the Surfaces:
Remove any dirt, grime, or oils that may hinder the dye’s absorption. Use a suitable cleaner, such as:
- A mild detergent mixed with water
- Isopropyl alcohol for tougher spots
- Specialty vinyl or plastic cleaners
- Dry Thoroughly:
After cleaning, allow the panels to dry completely. Any moisture can affect the dye’s performance and finish.
- Sand the Surface (if necessary):
If the panels are glossy, lightly sand them using fine-grit sandpaper (around 400-grit). This will create a rough surface for better dye adhesion.
- Mask Off Areas:
Use painter’s tape to mask off any areas that you do not want the dye to affect. This includes edges, trim, and adjacent surfaces.
- Test the Dye:
Before applying the dye to the entire panel, do a test patch on an inconspicuous area. This will help you assess the color and finish.
By carefully preparing your interior panels, you can achieve a professional-quality restoration that enhances the overall aesthetic and longevity of your vehicle’s interior.
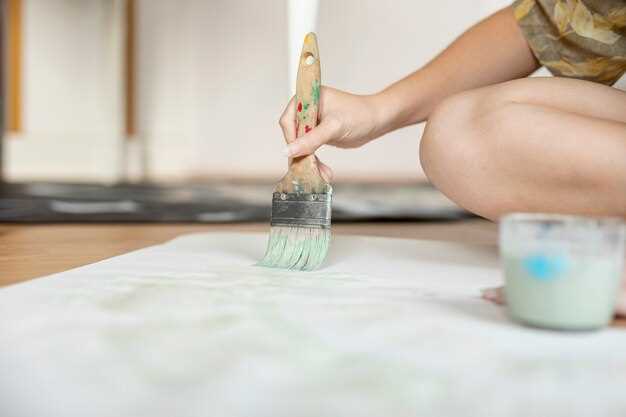
Applying Dye Evenly on Faded Surfaces
When restoring faded interior panels, achieving an even application of dye on plastic surfaces is crucial for a professional finish. Begin by thoroughly cleaning the area to remove any dirt, grime, or old wax. Use a mild detergent and water solution, ensuring the surface is free from contaminants that could prevent proper adhesion of the dye.
After cleaning, allow the surface to dry completely before proceeding. It’s essential to work in a well-ventilated area to avoid inhaling fumes from the dye. Choose a high-quality dye specifically formulated for plastic surfaces, as this will ensure better penetration and longevity.
To apply the dye evenly, consider using a spray bottle or an airbrush for larger areas. For smaller sections or detailed work, a foam applicator or microfiber cloth can provide more control. Begin at one edge and work your way across the surface, applying light, even coats. Avoid soaking the surface, as this can lead to drips and uneven coloration.
Allow each coat to dry according to the manufacturer’s instructions before applying additional layers. This will help to build up a consistent color and avoid patchiness. If necessary, lightly sand between coats with fine-grit sandpaper to promote adhesion and smooth out any imperfections.
For best results, consider applying a final clear coat designed for plastic to seal the dye. This protective layer will not only enhance the appearance but also improve durability against fading and wear. By following these steps, you can successfully restore your faded interior panels, providing a fresh and rejuvenated look to your vehicle’s interior.
Using Heat to Enhance Dye Penetration
When it comes to restoration of faded interior panels made from plastic, employing heat can significantly improve the penetration of the dye. The application of heat alters the molecular structure of the plastic, making it more receptive to the coloring agents in the dye.
Before applying dye, preheat the surface slightly. This can be achieved using a heat gun or a hair dryer on a low setting. Aim to increase the temperature of the panel without causing any damage; a warm surface allows the dye to bond more effectively, resulting in a more uniform color application.
After warming the plastic, apply the dye evenly across the surface. The heat helps the dye to soak into the material rather than sitting on top, which is crucial for achieving a long-lasting finish. You may notice that the dye may appear to absorb more quickly, providing a deeper and richer color.
Finally, allow the dyed panel to cool down naturally after application. This cooling process helps to set the dye within the plastic, ensuring that your restoration work is both effective and durable. By incorporating heat into your dyeing process, you enhance the likelihood of achieving a successful and aesthetically pleasing result.
Sealing and Protecting Dyed Panels from Future Fading
After successfully dyeing your interior plastic panels, it’s essential to protect them to ensure the longevity of the restoration. One of the most effective ways to seal dyed panels is by applying a high-quality protective sealant specifically designed for plastics. This layer acts as a barrier against UV rays, preventing fading and discoloration over time.
Before applying any sealant, make sure the dyed panels are completely dry and free from dust or contaminants. Use a microfiber cloth for cleaning to avoid scratching the newly dyed surface. Once clean, choose a sealant that offers UV protection to provide an additional defense against sunlight exposure, which is a primary cause of fading.
Apply the sealant in thin, even coats, following the manufacturer’s instructions. Allow sufficient drying time between coats to ensure a strong bond and maximum protection. Typically, two to three coats are recommended for optimal results. After the final coat, allow the panels to cure for at least 24 hours before reinstallation or exposure to any elements.
In addition to sealants, consider incorporating regular maintenance into your routine. Regularly clean the panels with a gentle, pH-neutral cleaner to maintain their appearance and protective layer. Avoid harsh chemicals or abrasive materials, as these can compromise the sealant and lead to premature fading.
By sealing and regularly maintaining your dyed interior plastic panels, you can preserve their vibrant appearance and extend the life of your restoration efforts. This proactive approach will keep your interior looking fresh and new for years to come.
Troubleshooting Common Issues in Dye Restoration
Restoring faded interior panels with dye can yield impressive results, but it’s essential to be prepared for potential issues during the process. Below are common problems encountered when dyeing plastic interior panels and how to address them effectively.
- Uneven Color Application:
If the dye appears patchy or uneven, follow these steps:
- Ensure a clean surface before applying dye. Any dirt or grease can lead to inconsistent absorption.
- Apply multiple thin layers of dye rather than one thick coat. This method allows for better control over color saturation.
- Use a spray technique for a more uniform application. For detailed areas, consider using a brush, but make sure to blend the edges.
- Painters Tape Issues:
When masking off areas, a poor seal can lead to dye bleed. To solve this:
- Use high-quality painter’s tape specifically designed for delicate surfaces.
- Press the tape firmly down to prevent leaks. It’s advisable to run a fingernail along the edge to create a tight seal.
- Consider applying a thin seal of clear coat along the tape edge before dyeing to create a barrier.
- Dye Fade Over Time:
Dye on interior panels may fade after several months. To prolong the finish:
- Choose a dye that offers UV protection to combat sun exposure.
- Regularly clean the panels with mild cleaners, avoiding harsh chemicals that can strip the dye.
- Apply a protective sealant post-dye application to enhance durability and color retention.
- Dye Doesn’t Adhere:
If the dye is not sticking to the plastic:
- Confirm plastic type. Some plastics may require specific dyes or a substrate preparation before dyeing.
- Use a plastic adhesion promoter or primer before applying dye to improve bond strength.
- Sand the surface lightly to create texture for better dye adherence, but be cautious to avoid excessive abrasiveness.
By understanding these common issues and solutions, you can achieve successful dye restoration of your interior panels, enhancing the overall aesthetic of your vehicle.


